
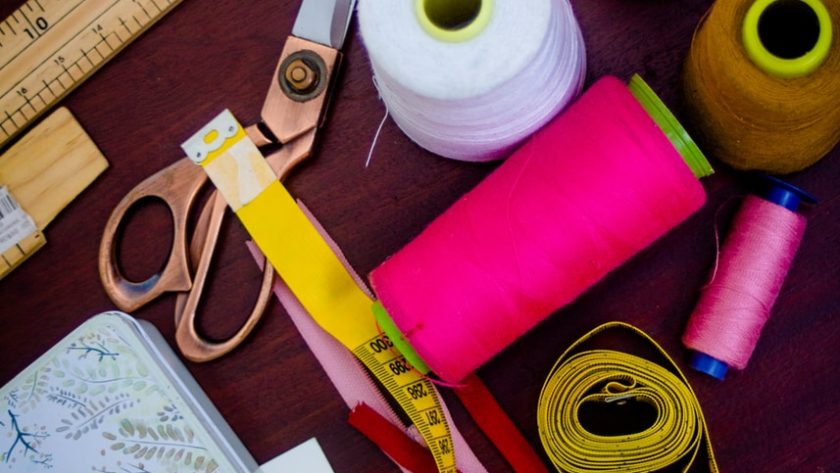
You can fix a button, sew a sock or repair a hem with just a needle and some thread. My memories of my mother’s repairing clothing back as far as I can remember. Even today, I can be certain that the fabric scraps and loose buttons, as well as the pink pin cushion, and spools coloured thread, would still be there if I tried to find it.
It looked like something that every adult house should have: the tools to sew on buttons or make ballet costumes. As an adult, however, I have never owned a sewing machine. All my clothing repairs are outsourced to my tailor or dry cleaner.
Talking to Nicole Mallalieu (a fashion lecturer at the Australian College of the Arts) about simple home repairs made me realize that I was missing one of the most basic pleasures of life. It’s the satisfaction and peace that comes from fixing something yourself.
How to sew a button
Mallalieu recommends that you examine all buttons on your garment before you attach a button. This will help you determine the best stitching pattern and where it should be placed. Begin by threading the needle with thread and then double the thread at the bottom.

Next, place the button in its original position and, starting behind the fabric, poke one hole through the fabric. Pull the needle until it reaches the back of fabric. Next, feed the needle through the second hole and push it through to the opposite side of the fabric. She says, “You continue doing this until the button feels secure. You can either stitch straight lines or a cross on a button with four holes. Just follow the same pattern as for the other buttons.”
Finish by inserting the needle through the hole in the back of the fabric. Wrap the thread around the needle twice or three times, then pull it through. Finally, cut the tail. This is known as a French knot. Mallalieu recommends that you look at online tutorials such as this one.
How to darn a sock
Mallalieu says that darning can bring you to a state of meditation. You will need a darning mushroom or a light bulb. Place it in the sock so that the hole extends over the curve of your mushroom/light bulb. She recommends getting yarn that matches or complements the colour of your socks. She suggests starting from the corner and working your way around to the other. “Stitch with yarn and a needle to cover what looks like bars in jail.”
Once you have captured the entire fabric using vertical lines, move the needle horizontally through the stitches, “one under, one over, one below, one under and one over again, as if you were weaving fabric. I was told by her that there are many videos online with clear instructions on how to do it. For example, like in this one:
How to sew a patch on top of a hole
Mallaelieu believes that patching is a fun and easy way to cover stains, repair holes or enhance clothes if you don’t have many skills. Mallaelieu says it doesn’t matter how skilled you are at sewing.
She recommends using a “colourful yarn, thread”, and doing a running stitch with a “running” stitch by going in-and-out with a needle around the edge or across fabric. “You might need to pin it in place,” she said.
Repairing fallen hems
You can repair a hem that has fallen by using hemmingtape. This tape is placed inside the hem, and then pressed with an iron. However, this is only temporary.
Alternativly, you can also stitch by hand with a single-stranded needle, tied at the end. Mallalieu suggests pressing the hem first, then sewing between the edges of the fabric. “Your goal is to not have it show on the exterior.” She suggests watching an online tutorial that demonstrates different techniques like herringbone or whip stitches.
If you have a sewing machine that can sew the hem, and it was machine stitched, then “you will need to get back on a sewing machine, press and shape the hem and then copy what has been sewn.”
Mallalieu says that adjusting the length of the hem should be done by two people. It needs “somebody to measure it from the ground and pin it to you to ensure it is even.” To ensure that the garment is sitting exactly where you want, she recommends pressing the hem.
How to convert your jeans into shorts safely
Mallalieu suggests that you lay your jeans flat, match the inseam between the crotch and the ankle, and then fold them in half to make the legs even shorter.
Use a pair of large scissors to cut both legs simultaneously. Remember that denim can fray up to a centimetre after being cut. You should leave some extra length.
How to alter the length of a sleeve
Mallalieu states that sleeves can be altered depending on the fabric used and the finishing you choose. You can cut the sleeves off without affecting the weave of the fabric. The tighter the weave is, the less it will fall apart. Finer fabrics with looser weaves are more susceptible to fraying. To prevent fraying, she suggests “running a small, zig-zag stitch around each edge.”
You can also cut the sleeves of a T-shirt or any cotton jersey, and it won’t fray. It’ll just roll up.
If you are making a shirt short-sleeve, she suggests that you cut the shirt to the length you need plus three centimetres. Then fold it over one and two centimetres.
Mallalieu’s final piece of advice is applicable to all home-mending jobs: “It is not that hard. Know that you can do it and give it your best shot.”